To download a cookbook style copy of the recipe for Peachy Quinoa Cobbler with Strawberry Sauce,
click HERE. [LINK] https://skydrive.live.com/redir?resid=AACAD5940EB17952!162&authkey=!AFHFpD-nc9EW5gs
 Once you experience the unique flavor and nutritional
qualities of quinoa, you’ll inevitably want to find other ways to add it to
recipes. In last week’s post, we used whole quinoa in a delicious savory side
dish salad ("Quinoa Salad with Tomato, Roasted Red Pepper,Pine Nuts and Cherries"). This week, we’ll use it to make flour that will be used in a baked dessert
dish I couldn’t resist calling “Peachy
Quinoa Cobbler with Strawberry Sauce.” It’s a delicious peach cobbler with a
natural sweetness made even better by the addition of the savory quinoa, and
topped with an easy-to-make strawberry sauce.
Once you experience the unique flavor and nutritional
qualities of quinoa, you’ll inevitably want to find other ways to add it to
recipes. In last week’s post, we used whole quinoa in a delicious savory side
dish salad ("Quinoa Salad with Tomato, Roasted Red Pepper,Pine Nuts and Cherries"). This week, we’ll use it to make flour that will be used in a baked dessert
dish I couldn’t resist calling “Peachy
Quinoa Cobbler with Strawberry Sauce.” It’s a delicious peach cobbler with a
natural sweetness made even better by the addition of the savory quinoa, and
topped with an easy-to-make strawberry sauce.
Some Cook’s Notes
before we begin.
- If you’re able to buy quinoa flour already made, go for it. Where I live it’s easy to find quinoa, but not quinoa flour, so this recipe describes the simple process of making your own.
- Whether you buy quinoa flour or make your own, use it similar to how you would use whole wheat flour in recipes. If you’ve got a recipe that uses all-purpose flour and want to use the quinoa flour, substitute the quinoa flour for up to half of the all-purpose flour. (Don’t substitute quinoa flour for the entire amount of all-purpose flour; the result will be a heavy-textured baked good that doesn’t rise properly and won’t taste right.) If your recipe calls for whole wheat flour, you can substitute the entire amount with quinoa flour.
- It’s also possible to buy strawberry sauce to top the cobbler, but I recommend making the one described in this recipe. It’s easy to do and, frankly, tastes better than what you’ll get out of a jar. Aside from its use in this recipe, it’s a great topping to be able to make for a wide variety of desserts.
- Although I normally prefer to use as many fresh ingredients as possible, in this recipe I’ve used canned peaches instead of fresh. The reason for this is that canned peaches have a consistent taste and texture any time of year. Fresh peaches, depending on many factors, can vary from sweet and juicy to dry, overly firm and tasteless. If you do want to use fresh peaches, and find that yours are not the sweet and juicy kind, I’ve found you can make them a little better by soaking them in orange juice before using them.
- In general, fruit cobbler recipes take one of three approaches: putting the fruit in the baking dish and pouring the batter on top; mixing the fruit and the batter and putting them in the baking dish together; or pouring the batter into the baking dish and placing the fruit on top of that, letting the batter rise up around the fruit as the cobbler bakes. This recipe uses that last approach, which I’ve found is how most cobbler recipes are put together.
- As always whenever I use either of these wonderful ideas, a grateful nod to Chef Michael Chiarello for teaching us all the benefits of adding a bit of rosemary when cooking strawberries; and to Chef Alex Guarnaschelli for the simple brilliance of adding preserves when cooking a fruit filling.
This recipe makes a 13”
x 9” cobbler.
Here’s what you’ll need:
For the peach filling: 4-1/2 cups sliced peaches; ½ cup peach or apricot preserves; ¾ cup brown sugar; ½ tsp ground nutmeg; ½ tsp vanilla; and 1 Tbsp lemon juice
For the batter: ½ cup AP flour; ½ cup quinoa flour; 1 cup sugar; 1 Tbsp baking powder; ½ tsp salt; 1 tsp cinnamon; 3/4 cup skim milk, room temperature; and 1 egg substitute egg.
For the strawberry sauce: ½ cup sugar; juice and zest of one lemon, less 1 Tbsp of juice used for the filling; 1 pound of strawberries, hulled and quartered; ¼ tsp dried rosemary; pinch salt.
Other ingredients: 3 Tbsp butter substitute; low fat vanilla ice cream for serving
First, let’s make the quinoa flour. (Skip this part if you
were able to buy quinoa flour already made.)
Preheat the oven to 150 to 175 degrees.

Soak the quinoa in water for five minutes, then drain and rinse well under the faucet to remove the saponins, naturally occurring resins that can leave a bitter taste. (You’ll need ½ cup of quinoa for this recipe, but since you’re making the flour anyway it’s a good idea to make more and keep it on hand.)

Place the quinoa on paper towels to remove excess liquid.

Spread the quinoa out on a baking sheet and let air dry. To dry faster, place the baking sheet in the oven till dry. Be careful not to let the quinoa bake. (If necessary, take it out of the oven when it’s almost dry and let it air dry the rest of the way outside of the oven.)

Once the quinoa is dry, grind into flour using a spice grinder or coffee grinder and place in a sealed container until needed.

Now let’s get a few things ready and prepare the filling.
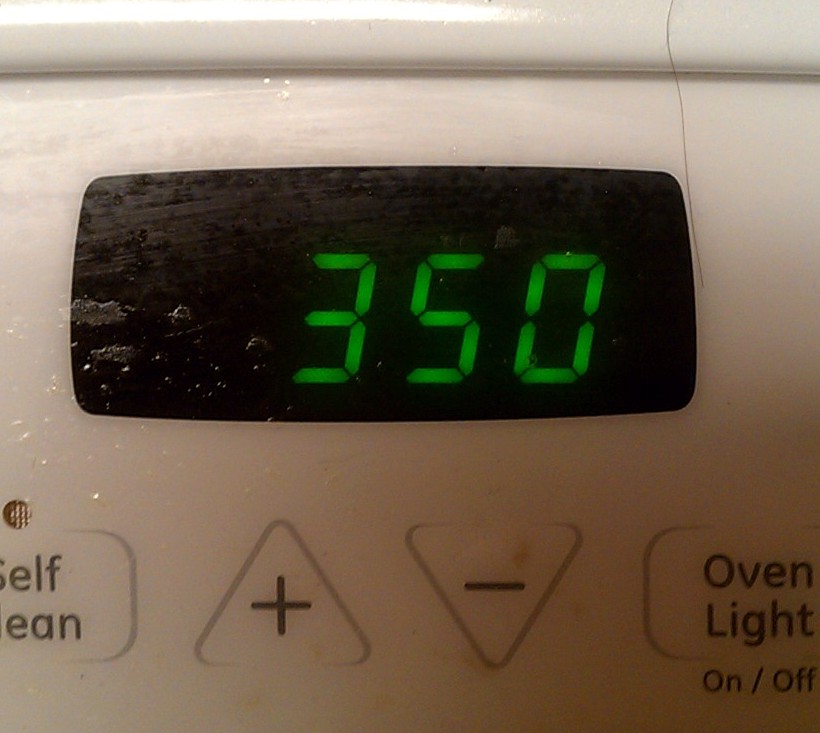
Preheat oven to 350 degrees.
Juice and zest one lemon and set aside to use as called for in the rest of the recipe.

Combine filling ingredients in a saucepan and mix well.

Bring just to a boil, then remove from the heat. Set aside till needed.

Next, we’ll prepare the baking dish and make the batter.
Put the butter substitute in a 13 x 9” baking dish and place in oven to melt.

Combine dry batter ingredients in a bowl. Make a well in the middle, and put in the skim milk and egg. Mix the liquid ingredients till combined.

Gently stir the wet ingredients into the dry until a smooth batter forms.

To prepare and bake the cobbler:
Pour the batter over the melted butter; do not stir.

Spoon the filling on top, then gently add a few spoons of the remaining liquid from the saucepan.

Bake for about 45 minutes, turning the baking dish half-way for more even baking, until the top is golden brown. (During baking, the batter will rise around the filling.)

While the cobbler is baking, prepare the strawberry sauce as follows:
With the heat off, place the sugar and lemon juice in a medium saucepan and mix till combined. Turn the heat on low and heat until the sugar mixture has melted.

Add the strawberries, lemon zest, salt and rosemary, and stir to coat.

Increase heat to medium, and simmer uncovered to thick sauce consistency, about 25 minutes.

Set the sauce aside till needed.

When the cobbler has finished baking:
Let rest until warm. (If it’s necessary to let it rest overnight, cover with perforated foil to allow the steam to vent without condensing and making the cobbler soggy.)

To serve:
Slice the cobbler, and top each piece with strawberry sauce and vanilla ice cream.
To download a cookbook style copy of the recipe for Peachy Quinoa Cobbler with Strawberry Sauce, click HERE.
Easy to make, sweet and delicious to eat, and even just a
bit healthy. Now that’s hard to beat!
Visit again next week for another easy, kitchen tested
recipe! Till then, stay well, keep it about the food, and always remember to
kiss the cook. ;-)


